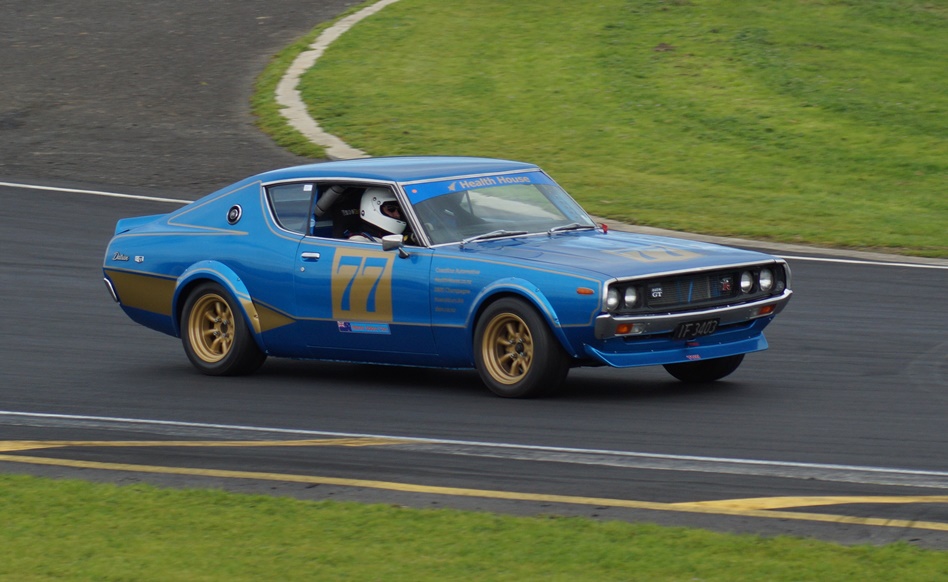
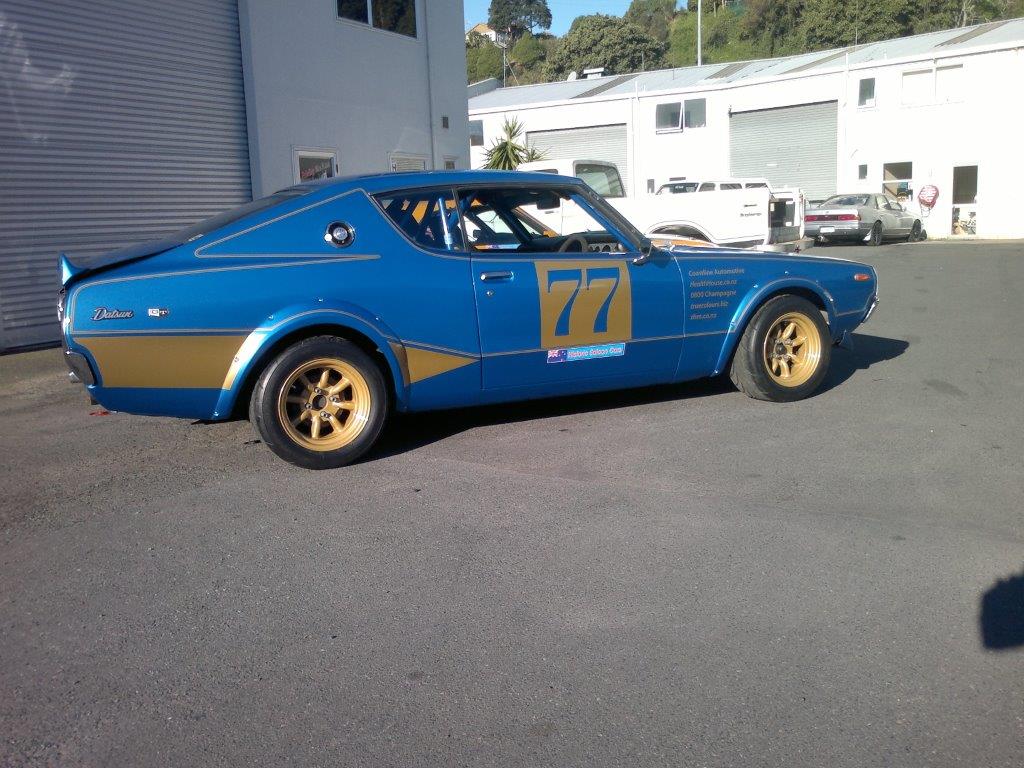
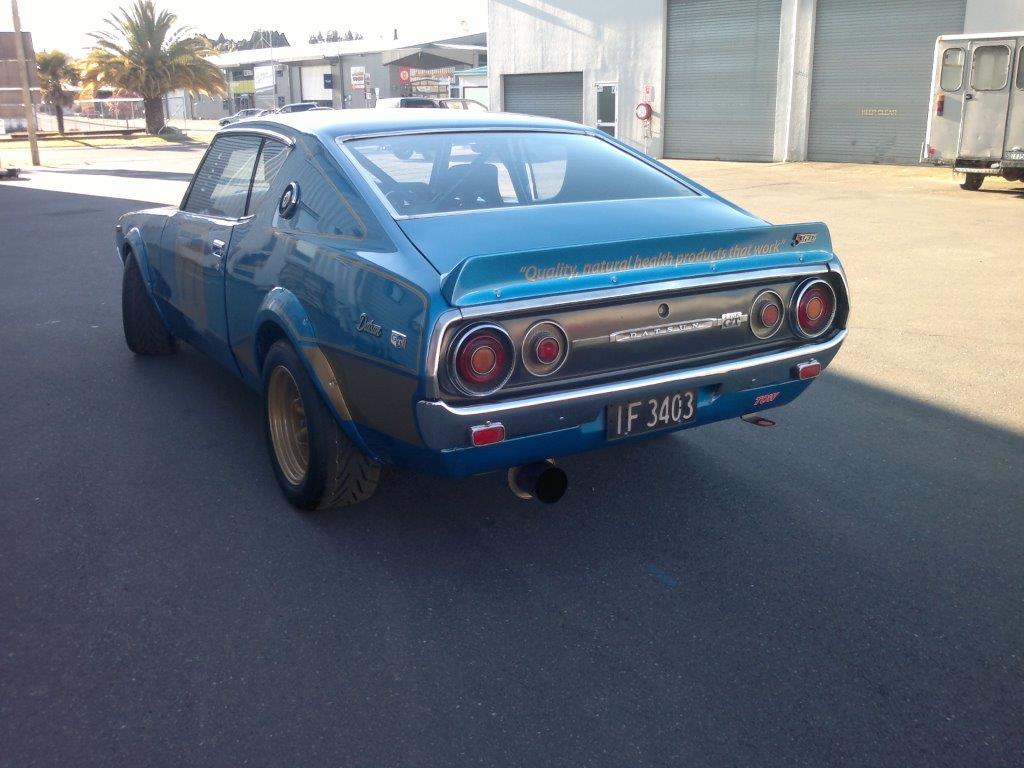
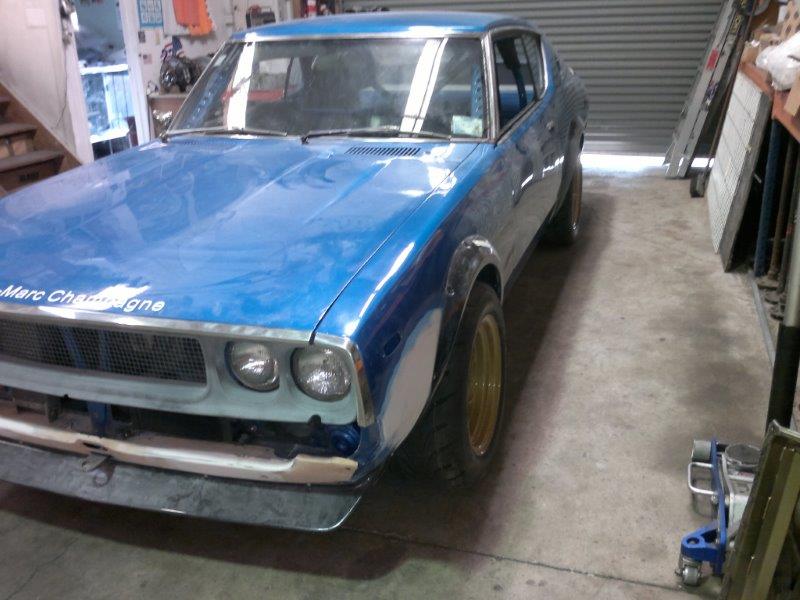
As Mike (NZEDER) pointed out the addition of the flares really changes the nature of the rear guards, and changes the car so it looks a lot more sporty.
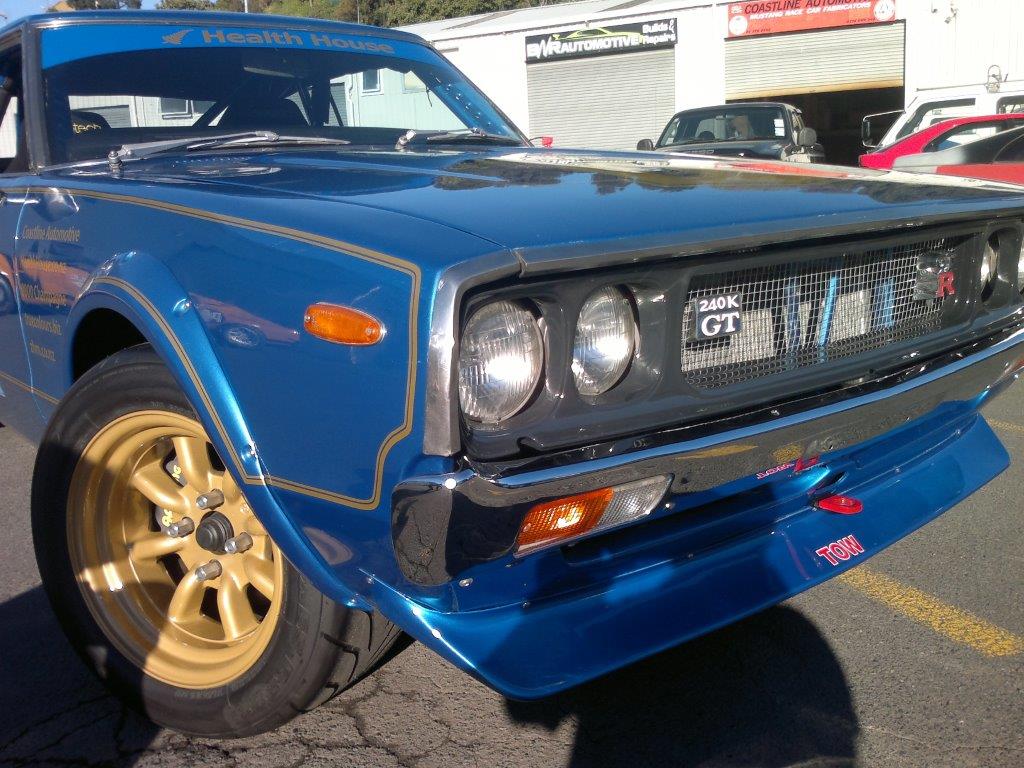
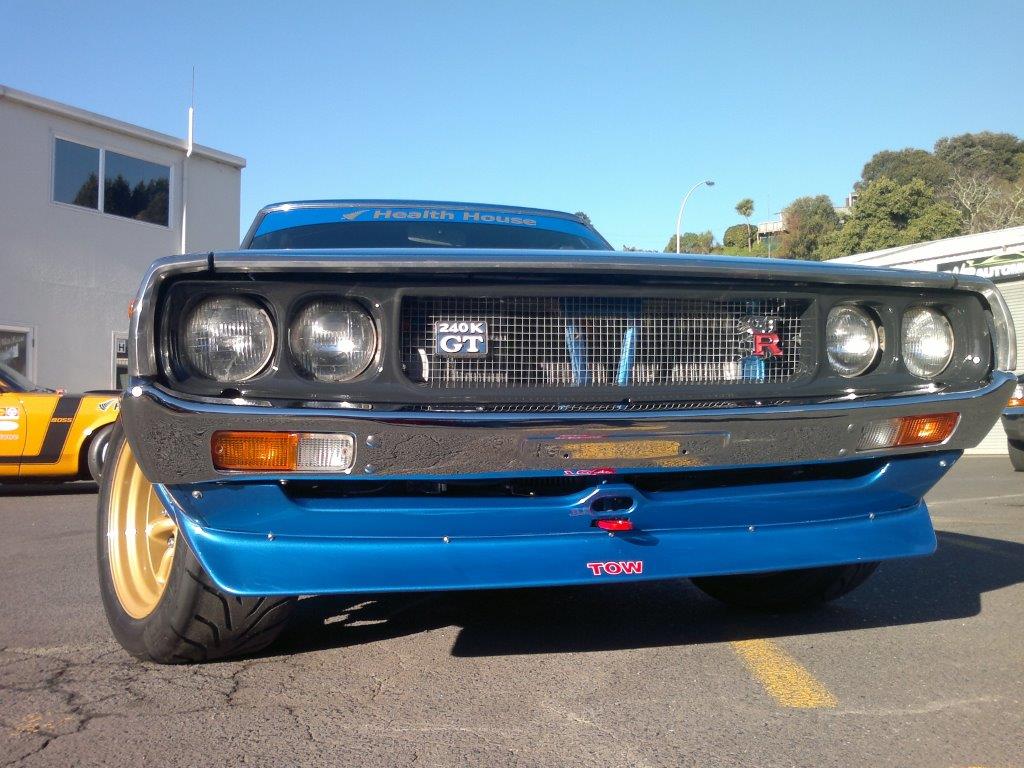
I sourced the flares, spoilers and grill from a company called
http://www.restored.jp/englishtop.htm via the Australian company Ottomoto referred to earlier.
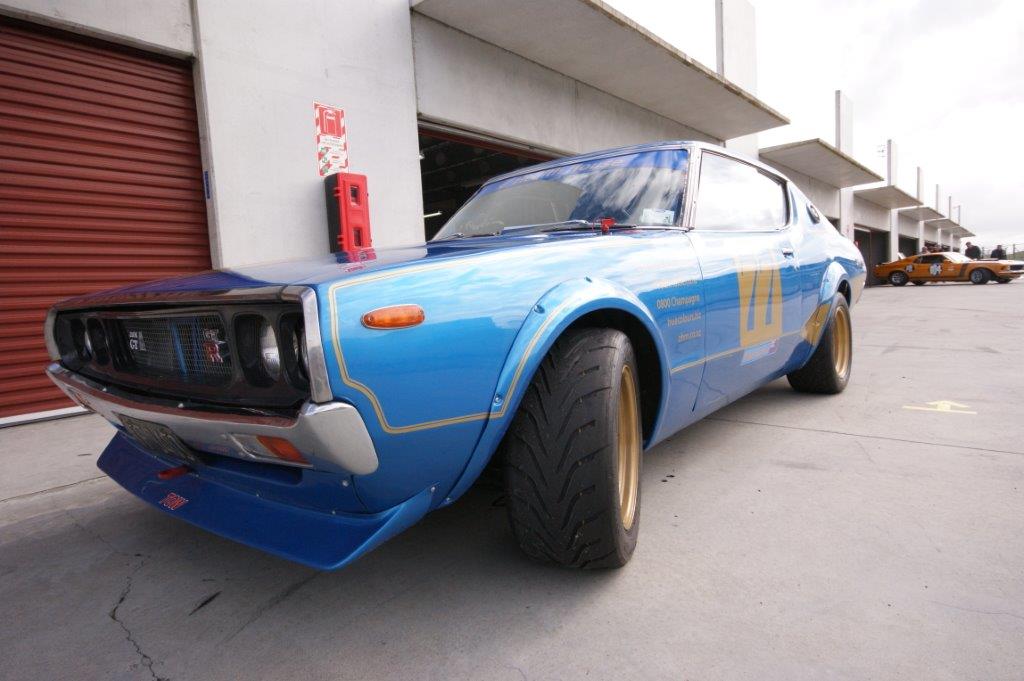
Now this was the most disappointing part, generally any Japanese aftermarket parts are of top quality and fit like a glove. My Mission Carbon Fibre bonnet on the ZX is a great example. But these parts fit like Dotcom at a National Party Election launch.

The guards did not follow the lines, the rear spoiler caught when the boot was shut and was missing the holes along the front. The kit came with standard pop rivets for fitment and the front grill was basically 20-30mm too narrow. Now Chad has some great fibre-glassing skills (though his mechanical skills are lacking) but even he could not get the flares to fit right.
After his modifications and completely replacing the mesh and support the grill came out OK and the front spoiler fit OK.
I would suggest that if you are doing this build look for a different supplier or do what Leighton (who has the black 240k that was featured in NZ Performance car) did and make them out of metal.
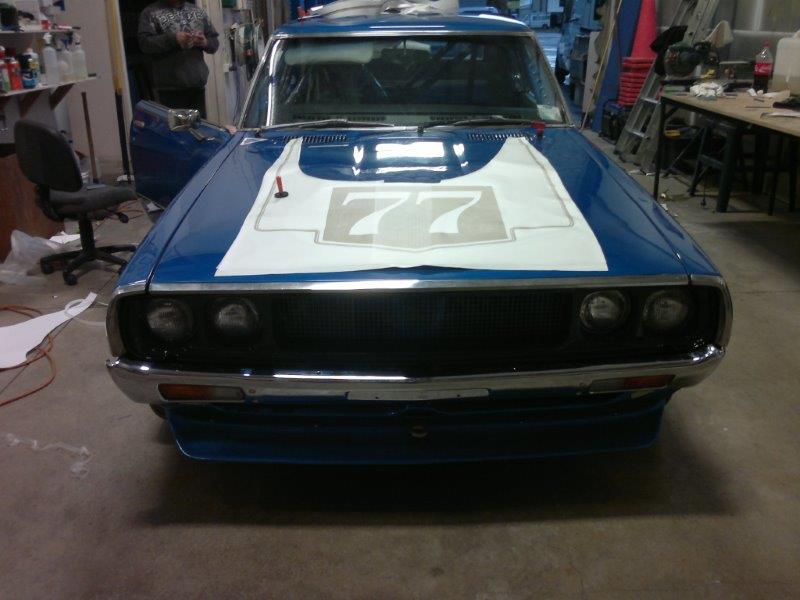
Then the car went off to the panel beaters (local guy in Birch Ave Tauranga). There was a couple of tiny bits of rust that we had taken out and some of the bog had to be removed (well it fell out), but basically the car was sound.
He also tidied up the guards and the inside of the wheel archers.
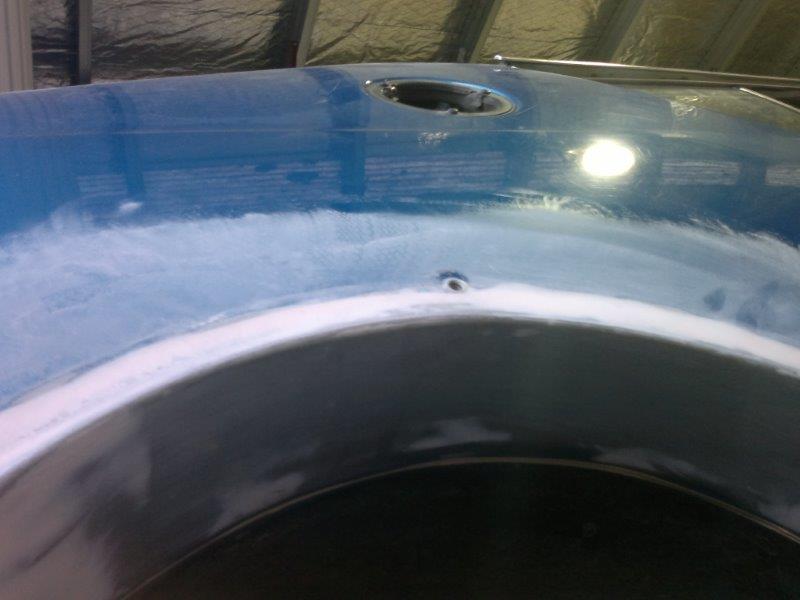
We did not want to do a full respray so we limited it to the area inside where Dale had modified the floor to make the seat fit and the sides of the car.
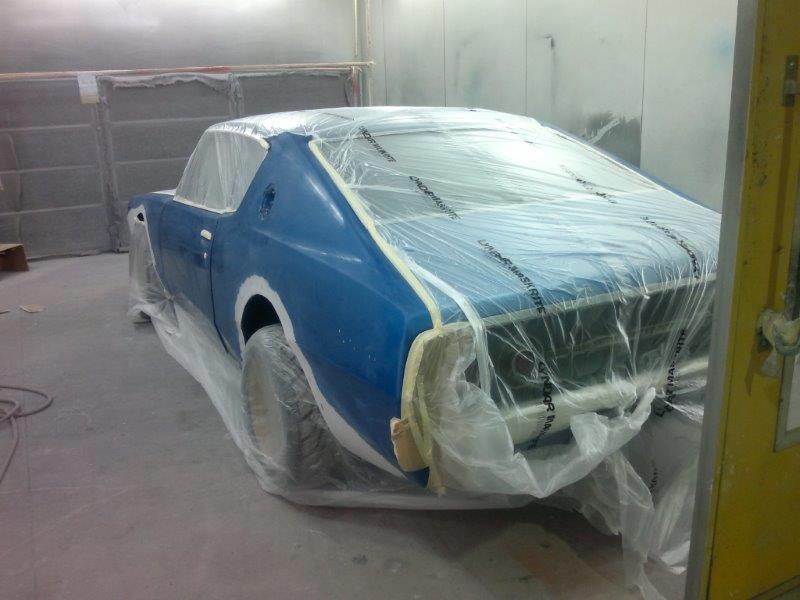
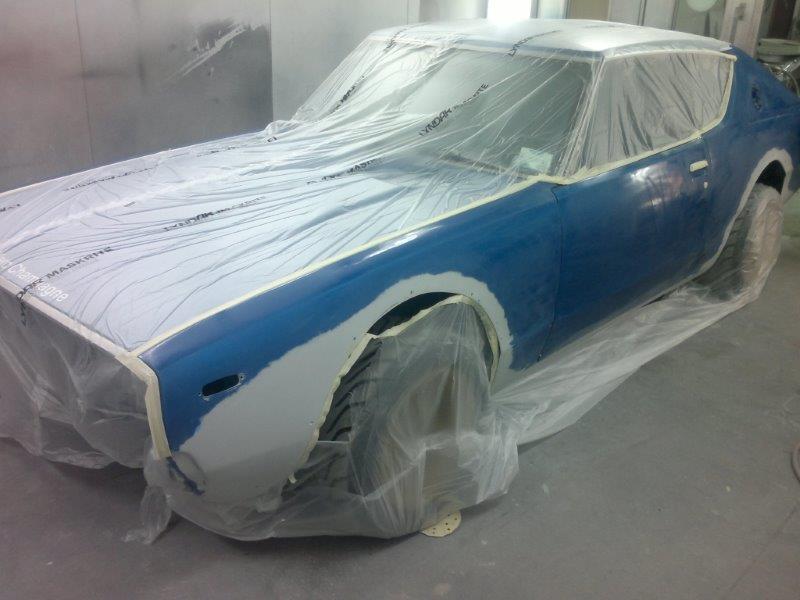
Then when the paint was dry it went to the signwriters
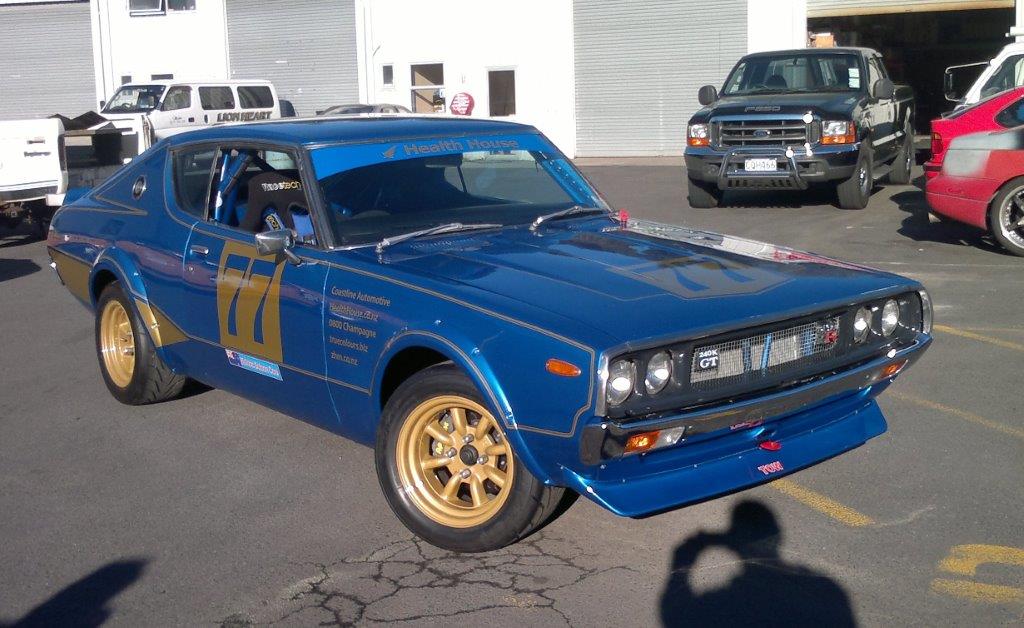
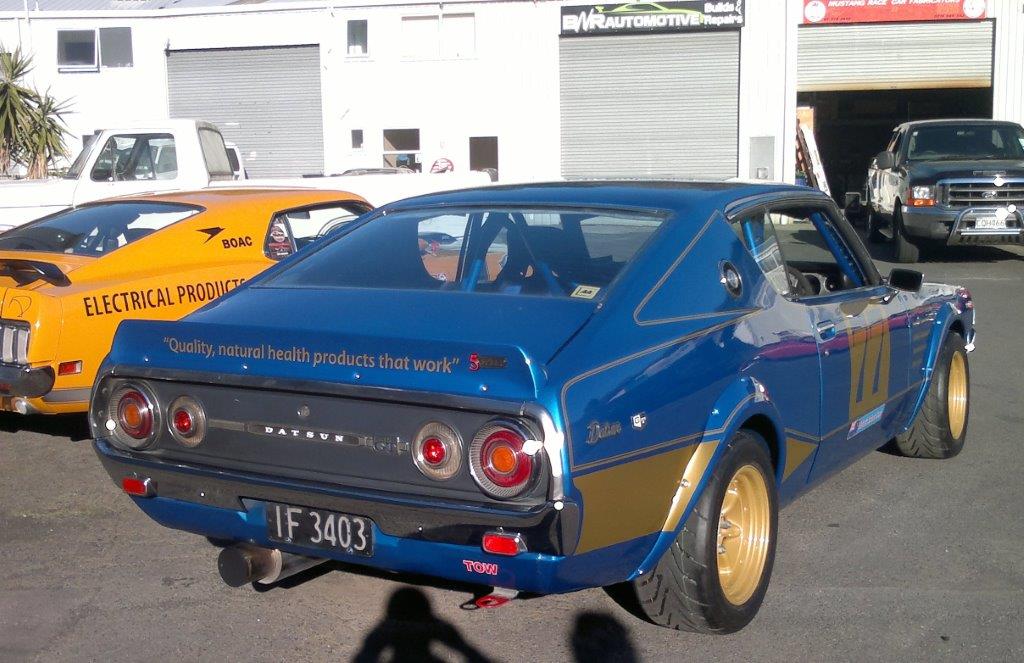
http://truecolours.biz/. Now this was a mission. As we wanted to do the gold pinstriping look of the Image car and no-one does pin striping anymore, we had to use gold vinyl.
Now the guys at true colours understand my attention to detail and the process involved measuring the model car, pouring over pictures on the web, marking it up in tape, then doing it with cheap vinyl, then changing it all then finally doing it in gold.
You will see shortly that the result is amazing. There are some really tricky bits to it but the good ol� interweb came up with some helpful pics and also a general layout. But all credit to Stew and Hinton who preserved to get it looking just right (and there was a great deal of swearing going on as well).
At the same time we fitted the spare bumpers that Don had kindly provided with the car. His bumpers were painted white, but we sent the spares ones up to
http://www.chromeplaters.co.nz/ who also did a great job in panel beating them and rechroming them. We fitted the new indicator lens, Chad straightened the bumper brackets and the car was nearly finished.
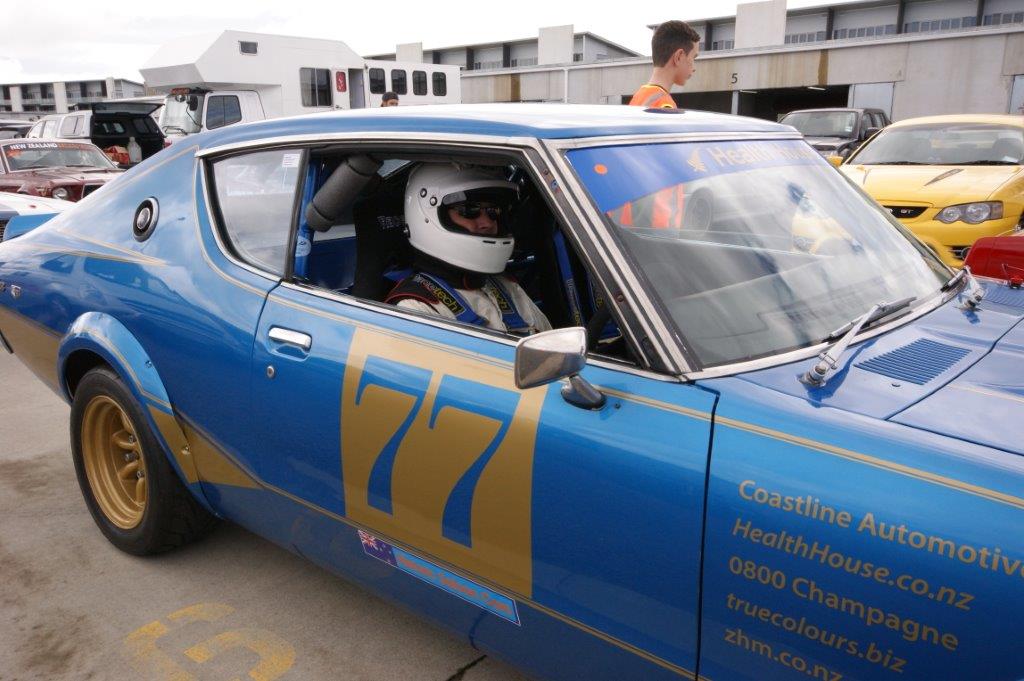
A few badges were fitted (we still have the side fuel cover ones arriving from Japan this week, thanks Yossy) and it is up getting a wheel alignment, tacho is not working and there is couple of other minor issues.
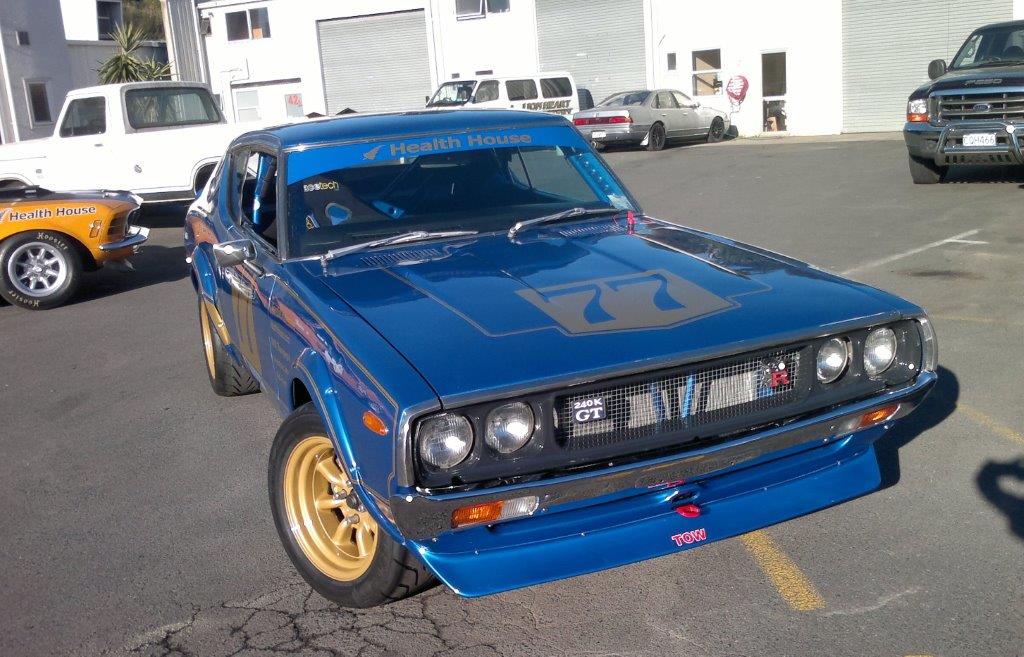
But a good friend Gary got out his mother car care products and gave it the once over and then it was out into the sun for a quick couple of cell phone snaps.