
New Build - 73 240Z - RB25det
I tend to agree. The 17" Z33 wheel has quite heavy looking spokes, although they are quite a sturdy wheel. Looks fine on a Z33 or a Z32, but I think you could find something better suited. Mind you it probably depends what colour you paint the car too. All has some bearing.
Next - Z Club events:
= Check out events page here or our Z Club NZ Facebook page.
= Check out events page here or our Z Club NZ Facebook page.

I am still hankering after an RB30/RB26DE combo with throttle body injection and no turbo.
The cross flow RB head holds lots of promise for making a cool looking engine bay and a mean howl from that combo........
I religiously buy the lotto tickets to prompt its birth........
Perhaps you could add this combo into the mix for consideration.
There are lots of turbo skylines out there but who has heard a individual throttle bottle RB howl???
My old R32 GTS25 NA with extractors and 2.5inch exhaust used to make a great sound......I miss it.
Great to see another Z on the road to re-birth what ever track you elect to take.
Cheers
Glenn
72 240z plus bits
spent the day sorting out some of the parts on the Z and having a good look at it.
Have come to the conclusion that it's going to be a hugely frustrating job trying to remove all the light surface rust over the entire car so it's going to have to be media blasted to ensure it's all taken care of. I had some good advise from a friend that this shouldn't really be done during winter, with the high probability of moisture getting under the primer causing the problem all over again further down the track.
So the outcome is that the Z will be placed in a dry garage until spring / summer when i can get it blasted and epoxy primed all in one go. I'd rather save myself all that stuffing around and have a better result in the end, it'll take longer but good thingZ take time!
In the mean time i'll be finishing off my VW convertible and sending that off for paint.
little bit of progress on the Z
Made up some rotisserie frames and modified some engine stands to get the shell up and swingable. Think i may have the pivot point a bit high as its not really a one man job to get it fully around.
I've decided to do all the repair work to the shell before blasting to they can epoxy prime all at once. Sills / Floors / battery / few spots here and there, bit of time and a welder
Bets sitting behind a desk
Discovered some pretty average repairs to the Left Hand rail / reinforcing as it meets the floor along with battery area. I knew the battery area had been done but I'll take the time and redo it now. Not to worry! if in doubt cut it out!!! With around 250-300HP going in i really don't want a weak point under there.
I'll make up some new floor sections (unless you can buy them cheap enough???) and probably redo the reinforcing under that too as it's just been overlap welded rather than butt welded. The underside will be coated in a stippled underseal that will clean up alot of things but not the rough stuff.
Should have had a better look before i ordered all the parts from the USA. They are here now and i could have saved on shipping! oh well. Panel fabrication is actually quite fun.
BH
 [/img]
 [/img]
Made up some rotisserie frames and modified some engine stands to get the shell up and swingable. Think i may have the pivot point a bit high as its not really a one man job to get it fully around.
I've decided to do all the repair work to the shell before blasting to they can epoxy prime all at once. Sills / Floors / battery / few spots here and there, bit of time and a welder
Bets sitting behind a desk
Discovered some pretty average repairs to the Left Hand rail / reinforcing as it meets the floor along with battery area. I knew the battery area had been done but I'll take the time and redo it now. Not to worry! if in doubt cut it out!!! With around 250-300HP going in i really don't want a weak point under there.
I'll make up some new floor sections (unless you can buy them cheap enough???) and probably redo the reinforcing under that too as it's just been overlap welded rather than butt welded. The underside will be coated in a stippled underseal that will clean up alot of things but not the rough stuff.
Should have had a better look before i ordered all the parts from the USA. They are here now and i could have saved on shipping! oh well. Panel fabrication is actually quite fun.
BH
[/img][/img]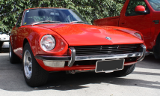
i've been meaning to make one for ages, the Z was just an excuse to crank up the welder again.
Can just weld different brackets on for different cars. I've still got the VW cabrio to do too so will be worth it.
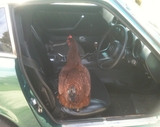
Couple more pics of my favourite Z. They've put an R33 interior in it! Got me thinking about doing the same/similar....we'll see. Already got the seat covers in factory red but R33 stuff will be cheap as chips.
 [/img]
Can just weld different brackets on for different cars. I've still got the VW cabrio to do too so will be worth it.
Couple more pics of my favourite Z. They've put an R33 interior in it!
[/img]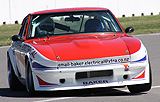
the DET appealed purely from a tweakabilty point of view. I could pickup up a RB25DE pretty cheap but all the effort to install seemed to make more sense to spend a bit more for the DET. There is a 6spd on trademe but for ease of compatibility I'll stick with RB for now.
Along way to go yet so things may change.
Along way to go yet so things may change.
Agreed350/370Z motor transplant
Certainly getting some good power now
http://www.youtube.com/watch?v=26AYKDOfy-4
started some of the body work today.
Started off by adjusting the pivot point for the rotisserie - for reference if anyone else builds one the rough weight centre line is the floor level in the rear hatch area. I was about 150mm to high which was causing problems. I can now spin it 360 with little effort.
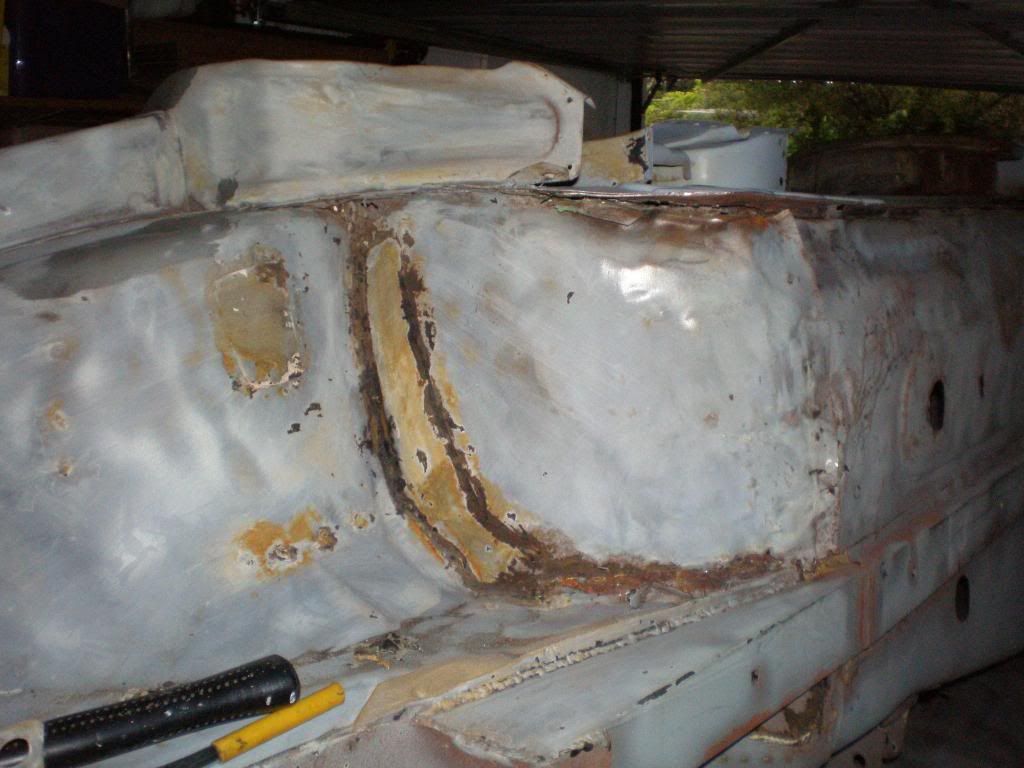
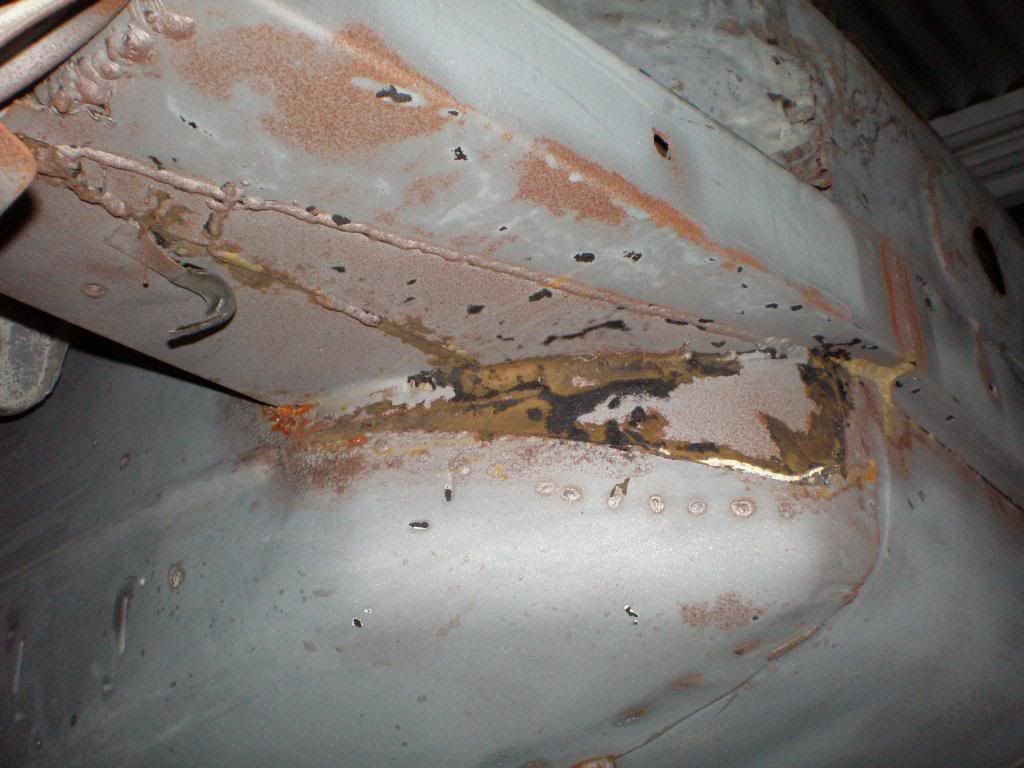
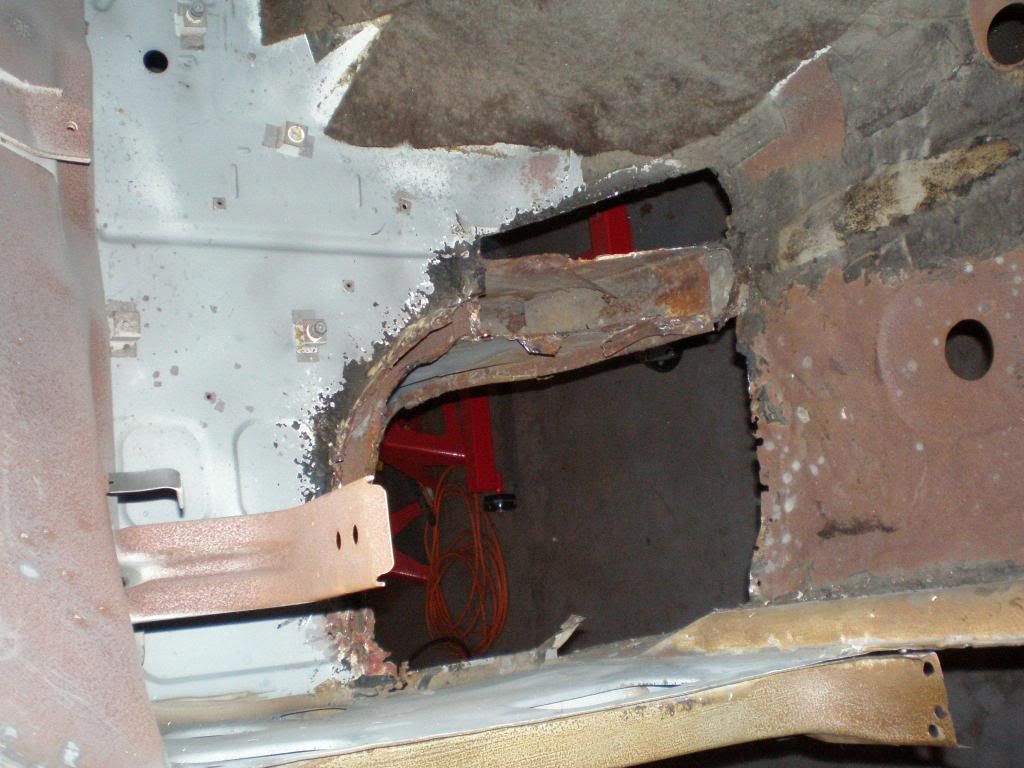
thought i get stuck into probably the worst part of the car - a previous repair to passenger side bulkhead / battery area. Some fairly typical repairs had been made to the floor / footwell area and the end of the chassis rail has be replaced. The rail was made quite well but welded in badly and over the original, you can see the rusty original in the last pic from the inside.
I'm not certain if i'll remake the rail as the shape isn't quite correct or just clean up the welds and seam weld the opposite to match it a bit better. The car will be modified anyway in other areas so not going to get to hung up on 'correctness'. I'll end up making a new portion of floor too, it's pretty average. Fun part will be forming the pressings in it. The bulkhead panel will be recut more square and i'll have to remake the flanges on the existing panels as they have been removed in the repair. Will be a slow job.
Rotisserie makes it so much easier to get to better access for this tricky stuff and when it goes to the blaster it'll make his job easier too.
All my parts arrived from the USA this week too - 'christmas!'. new upholstery, new seals, new lenses, new mechanical stuff, prothane kit etc etc. Nothing quite like putt'n new bits on a freshly painted shell! - eventually
Started off by adjusting the pivot point for the rotisserie - for reference if anyone else builds one the rough weight centre line is the floor level in the rear hatch area. I was about 150mm to high which was causing problems. I can now spin it 360 with little effort.
thought i get stuck into probably the worst part of the car - a previous repair to passenger side bulkhead / battery area. Some fairly typical repairs had been made to the floor / footwell area and the end of the chassis rail has be replaced. The rail was made quite well but welded in badly and over the original, you can see the rusty original in the last pic from the inside.
I'm not certain if i'll remake the rail as the shape isn't quite correct or just clean up the welds and seam weld the opposite to match it a bit better. The car will be modified anyway in other areas so not going to get to hung up on 'correctness'. I'll end up making a new portion of floor too, it's pretty average. Fun part will be forming the pressings in it. The bulkhead panel will be recut more square and i'll have to remake the flanges on the existing panels as they have been removed in the repair. Will be a slow job.
Rotisserie makes it so much easier to get to better access for this tricky stuff and when it goes to the blaster it'll make his job easier too.
All my parts arrived from the USA this week too - 'christmas!'. new upholstery, new seals, new lenses, new mechanical stuff, prothane kit etc etc. Nothing quite like putt'n new bits on a freshly painted shell! - eventually
slow progress on repairs. Took the afternoon off work for some RnR - Repair 'n' Rust!
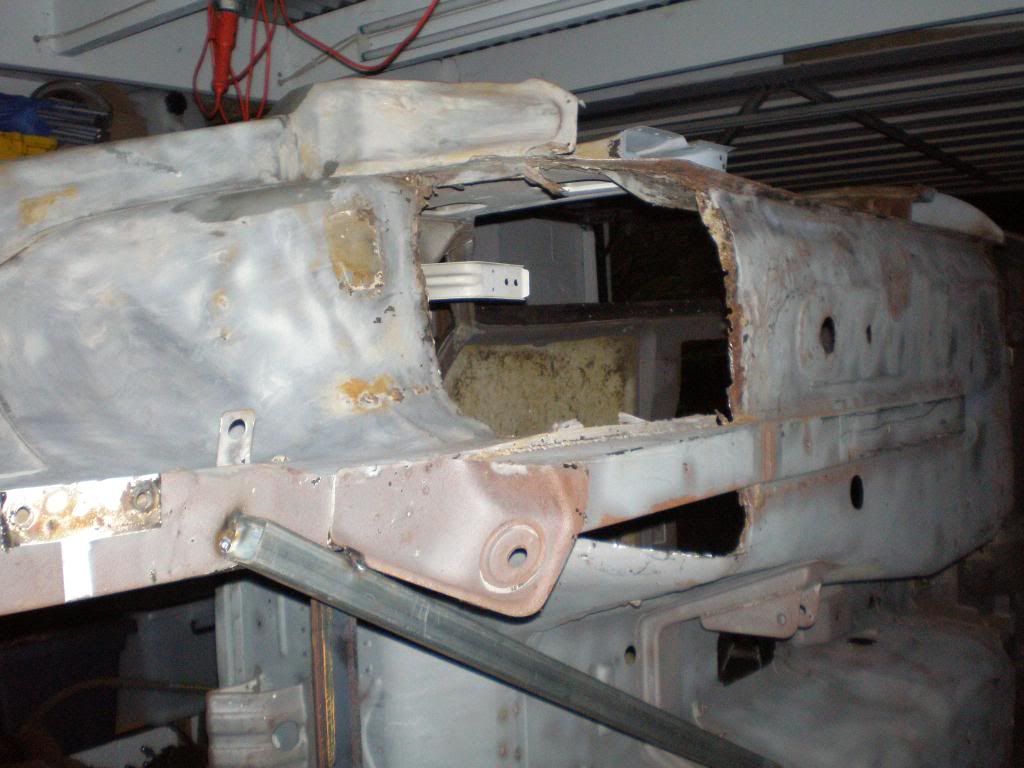
Battery tray replaced and side panel along with forming up flanges for when the bulkhead panel goes in.
Battery tray has curves both ways which takes a bit getting right. Thin bead of sealer over the weld seam under the tray should clean it up nice.
Replaced a portion of the floor rail too as it was all braised in previous repair which causes problems welding.
Next up i'll do the flange on the right of the chassis rail then i'll cut out the left hand half of the floor out.
I'll cut it through from the top - along the line of the LH reinforcing rail flange so you wont see the join from the outside. Previous repair had dodgy welds through here too so i can clean that up too.
Why only half the floor?? - Existing floor is wobbly as on that side so no point in doing the whole thing if it doesn't need it.
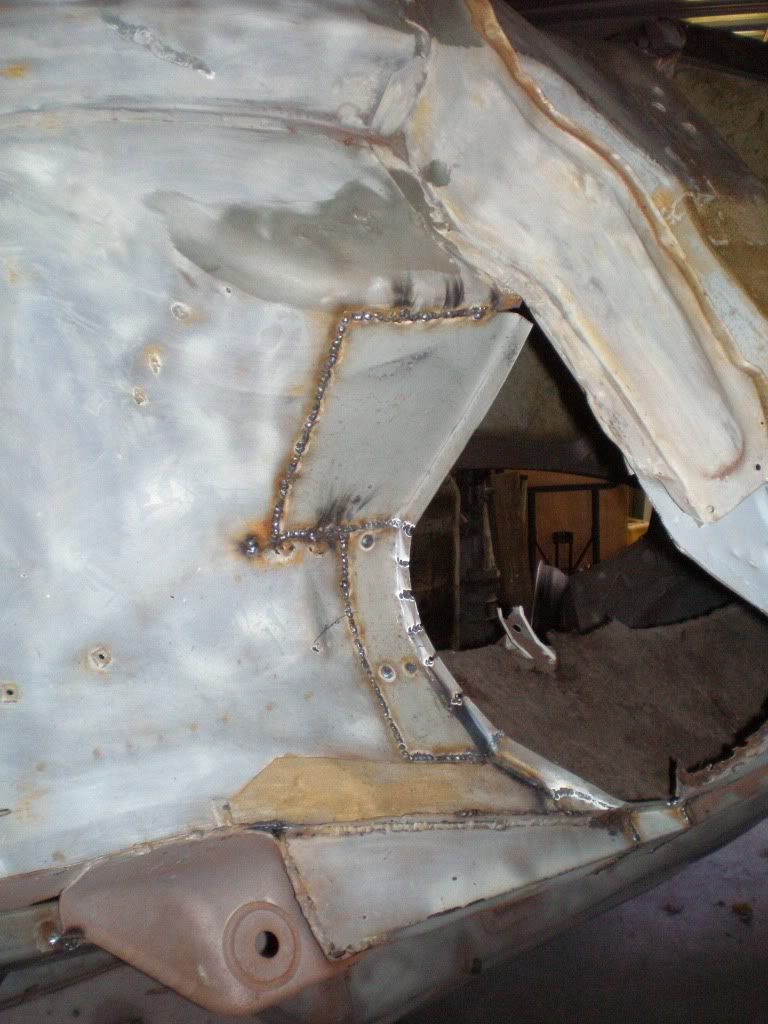
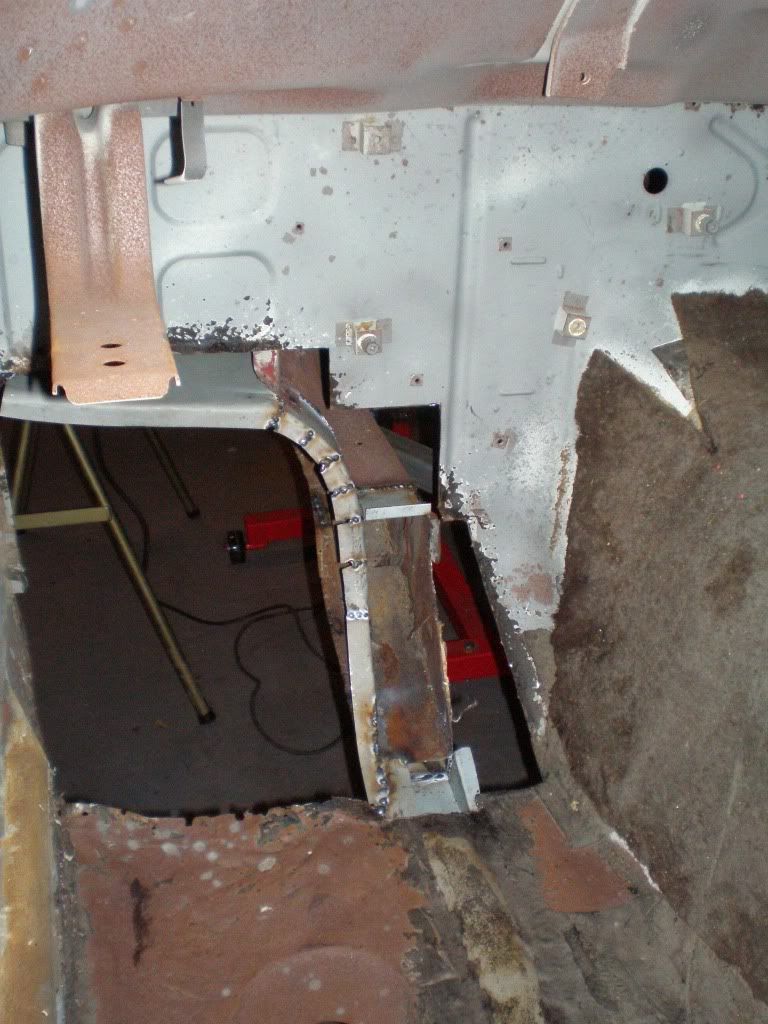
Then.....make up the fire wall section, weld that in, then..... fabricate the floor. It has a nice overlap/swage line (the messy edge you can see in the last pic) that laps with the fire wall.
Then this part is done!! on to the sills!! beats sitting at a desk all day
Battery tray replaced and side panel along with forming up flanges for when the bulkhead panel goes in.
Battery tray has curves both ways which takes a bit getting right. Thin bead of sealer over the weld seam under the tray should clean it up nice.
Replaced a portion of the floor rail too as it was all braised in previous repair which causes problems welding.
Next up i'll do the flange on the right of the chassis rail then i'll cut out the left hand half of the floor out.
I'll cut it through from the top - along the line of the LH reinforcing rail flange so you wont see the join from the outside. Previous repair had dodgy welds through here too so i can clean that up too.
Why only half the floor?? - Existing floor is wobbly as on that side so no point in doing the whole thing if it doesn't need it.
Then.....make up the fire wall section, weld that in, then..... fabricate the floor. It has a nice overlap/swage line (the messy edge you can see in the last pic) that laps with the fire wall.
Then this part is done!! on to the sills!! beats sitting at a desk all day