However did not really get much of a chance to find out how the diff went as first lap of practice I lost 2nd gear, there was a strannge whirrying sound. No worries most said sounded like a shift rod had come off.
Hmmm - no
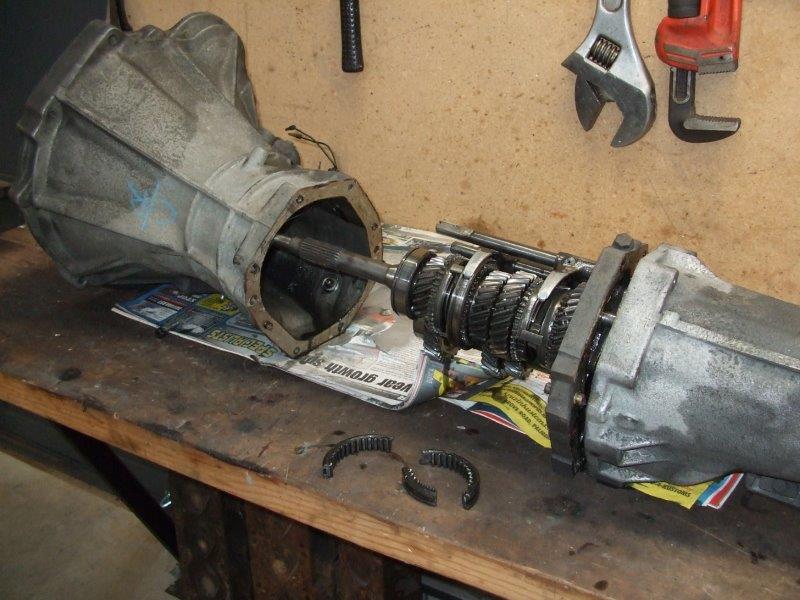
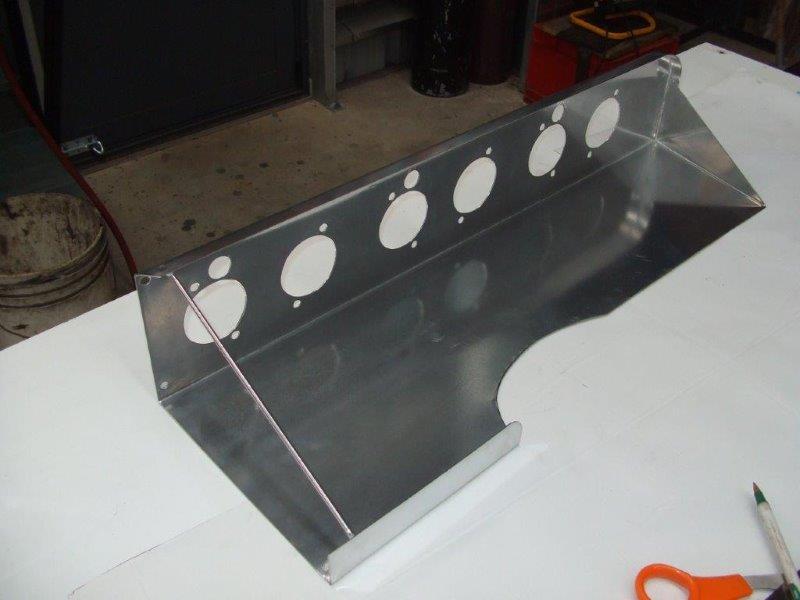
Those bits look important
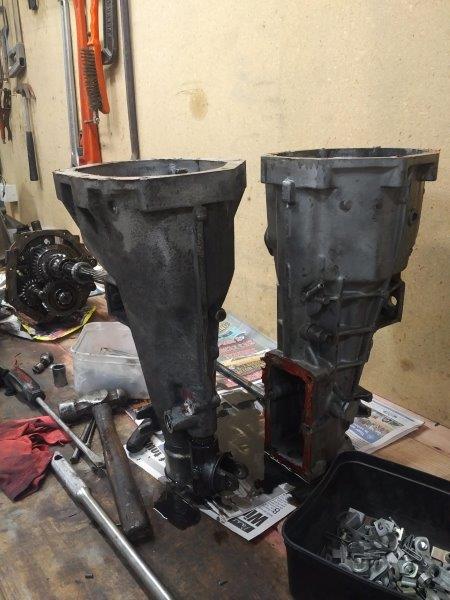
So rebuilt an early Datsun Skyline shortnose 71C box with a L6 bell housing (thanks Andy for the box).
You can see below the old 71B vs the 71C in this picture and the internals are so much bigger and stronger. Did not quite fit as the was about 20-30mm diff in the rear gearbox mount, but other than that it bolted up. The L6 bell housing needed a minor bit of machining to fit the 71C internals.

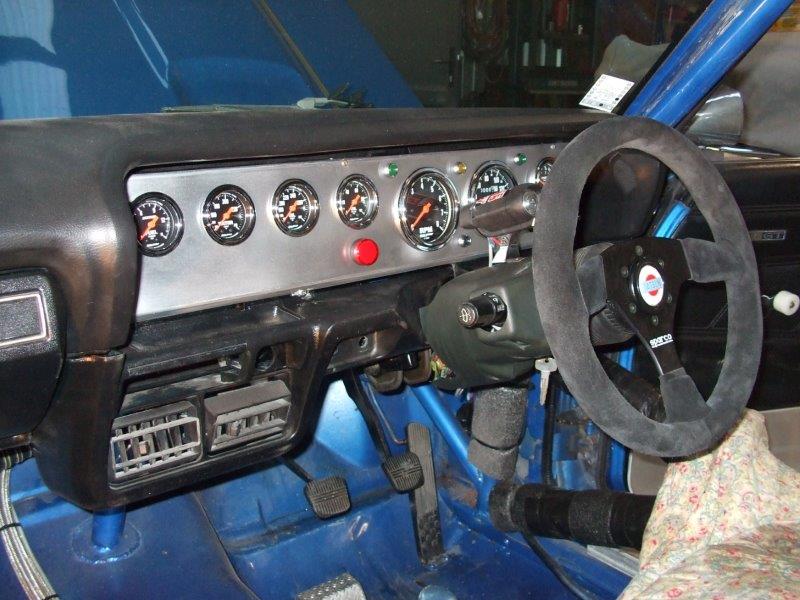
We also Tig welded front housing, helicoiled 2x damaged threads. fitted new bearing Kit H/Duty and synchros rings and fitted input shaft dog set, 3rd/4th selector fork, 3rd/4th selector keys, 3rd/4th outer shift hub, 1st/2nd selector fork.