A 280Z

Restores, Revamps and Repairs
Post Reply
User avatar
A280Z
Posts: 139
Location: Auckland

A 280Z

Post by A280Z » Fri Aug 16, 2013 10:27 am

Thought I would throw up a build of my recently acquired 76' 280Z.

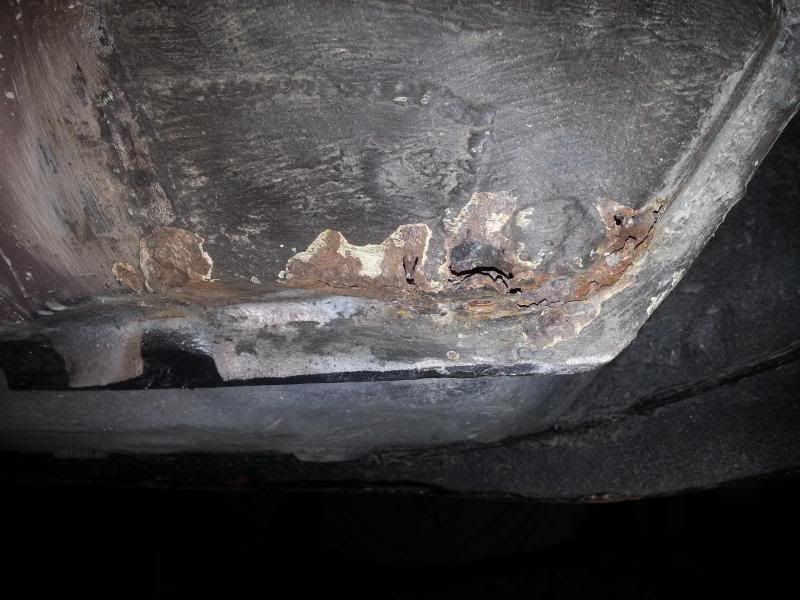
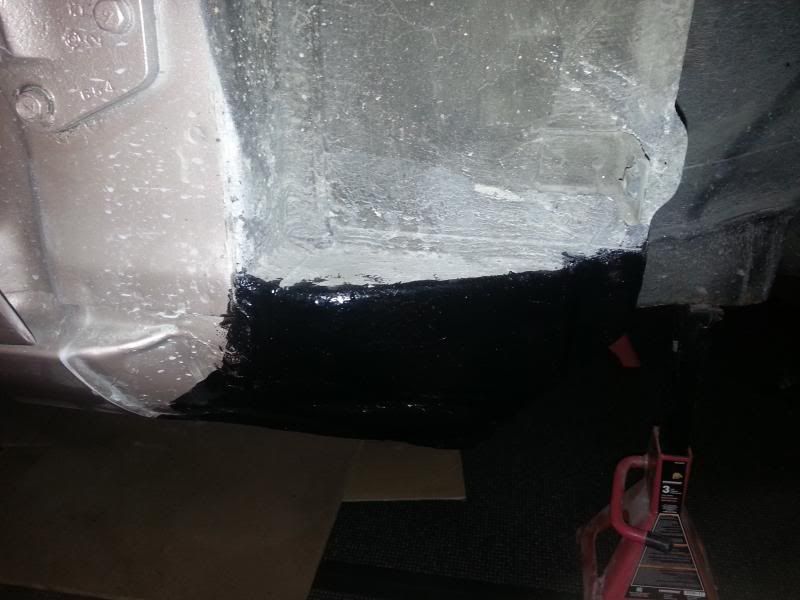
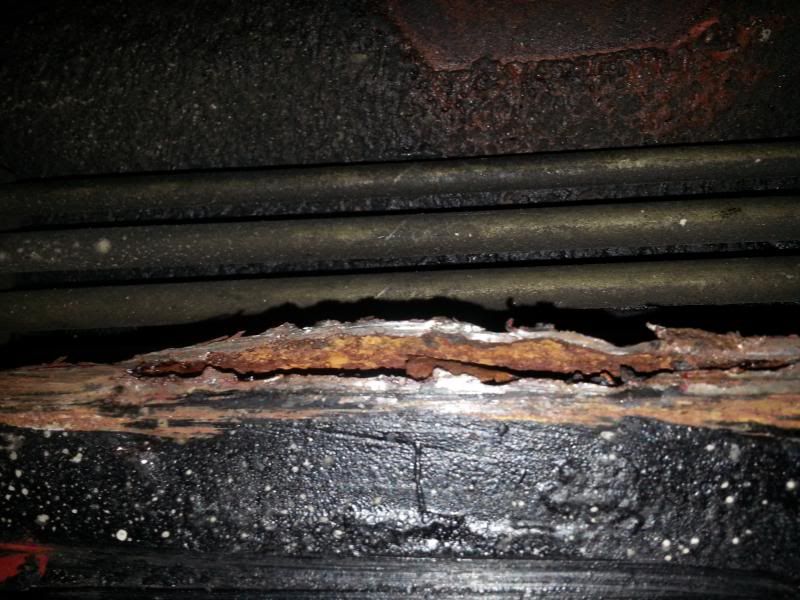
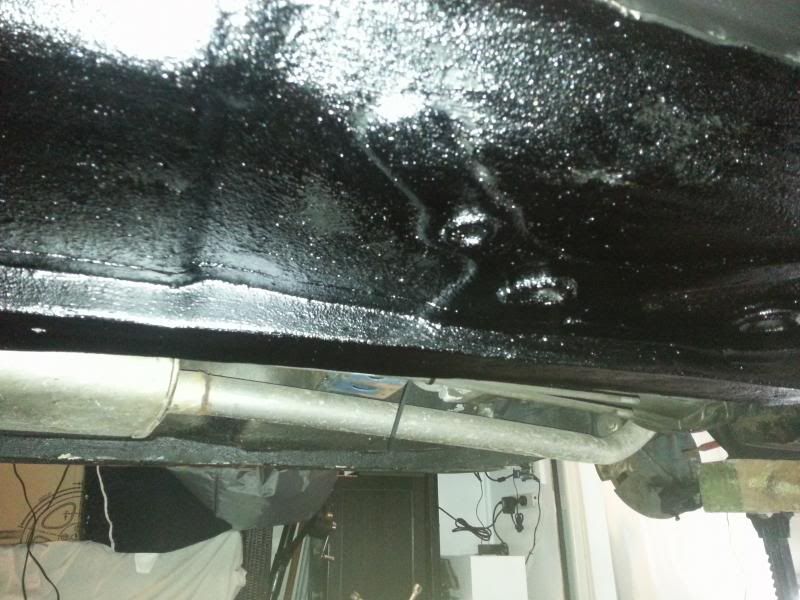
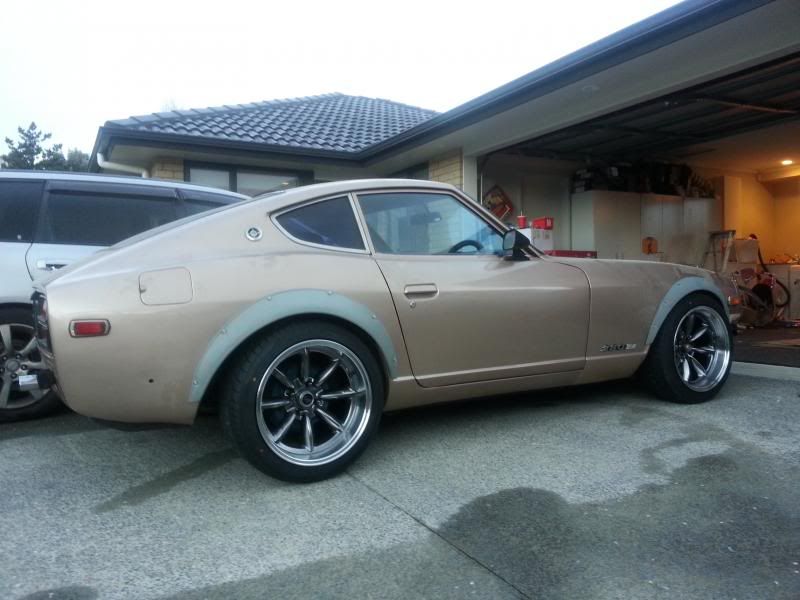
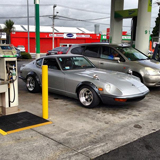
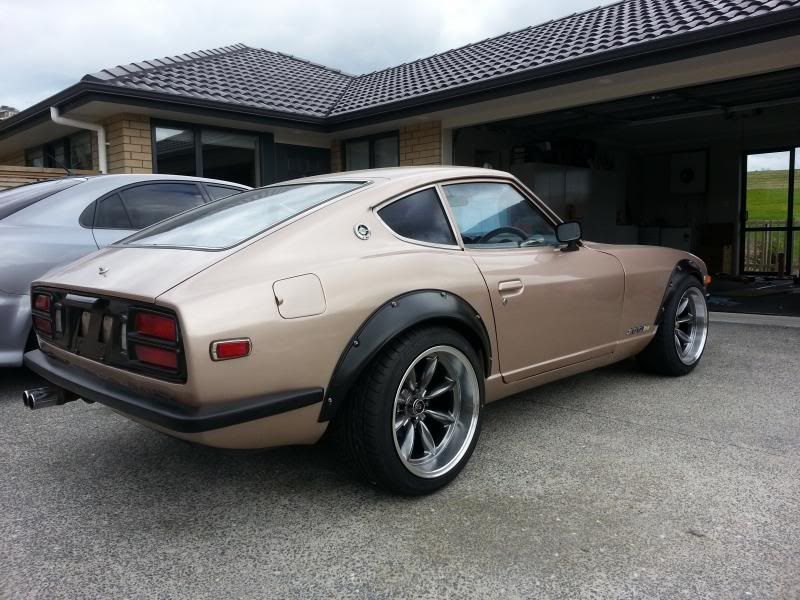
The car hasn't been on the road for a while but is in pretty good condition. When I had it delivered it hadn't been on the road since 2011. A lot of the interior was removed (but included), the wiring has been hacked around with (no indicators or lights working), and there were some small patches of rust in the floor and rails.

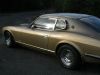
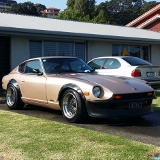
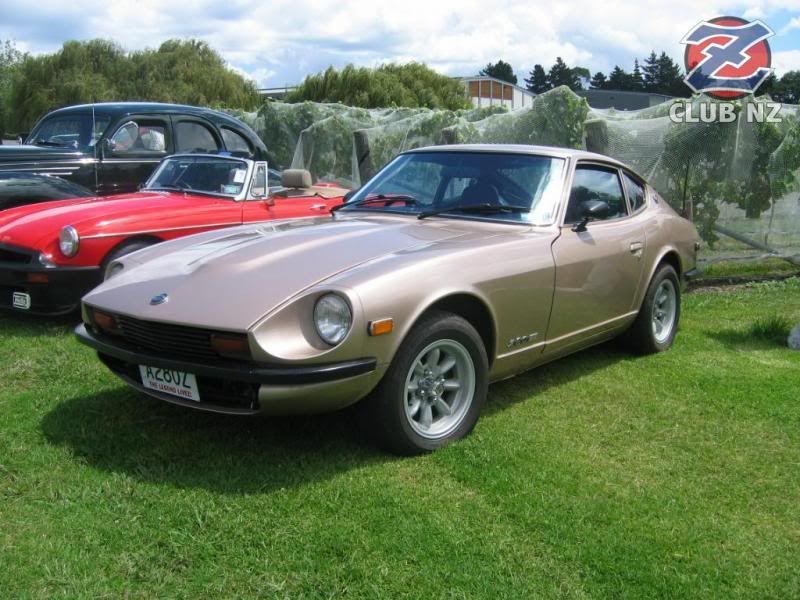
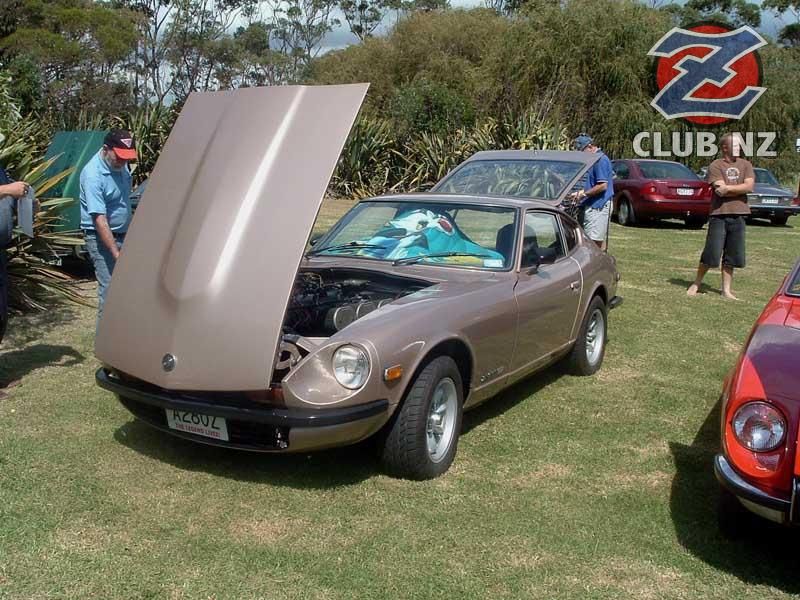
Few pics of the car from back in the day, 2006.

Image

Image

Image

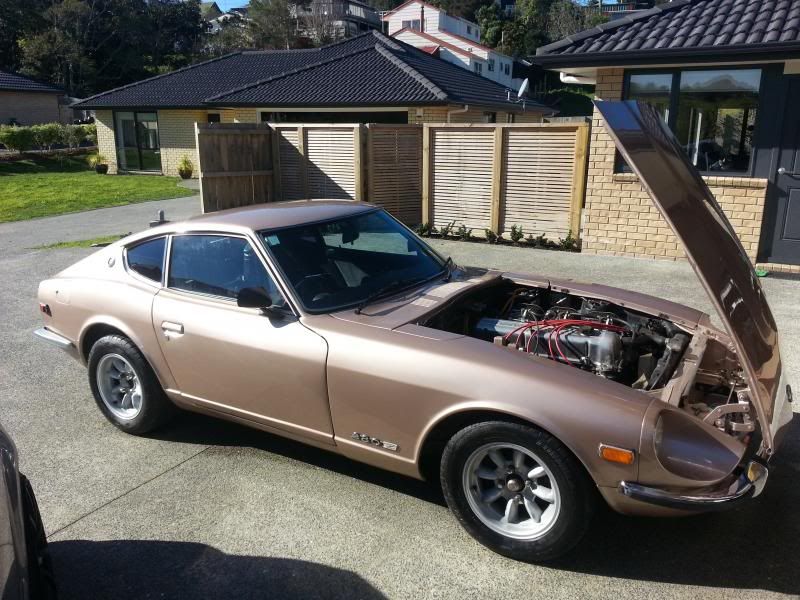
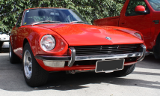
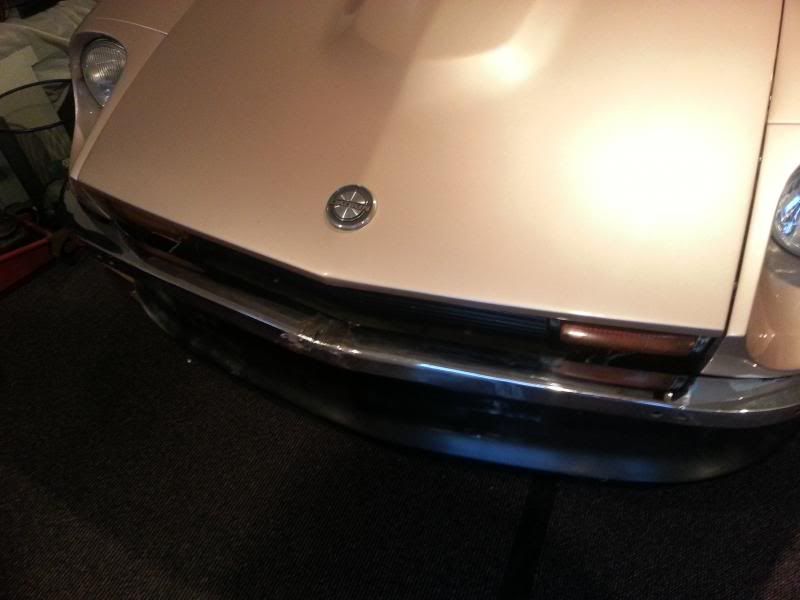
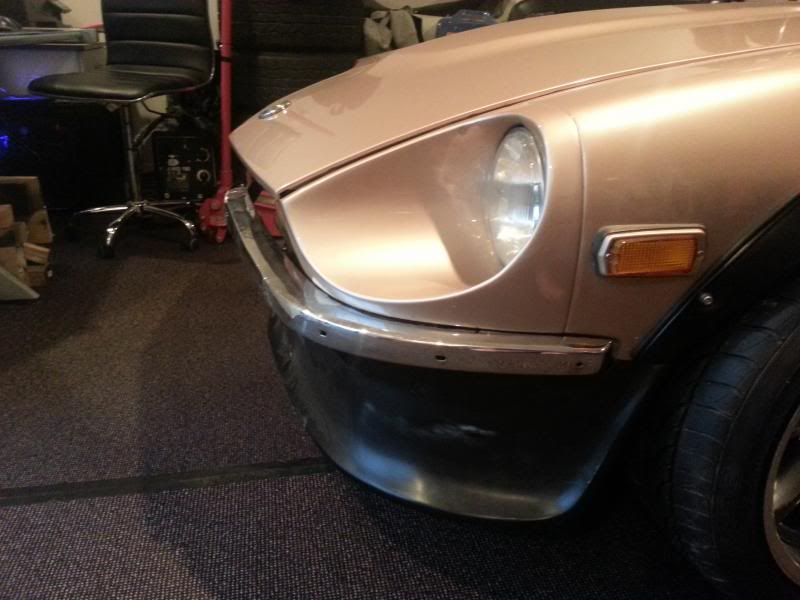
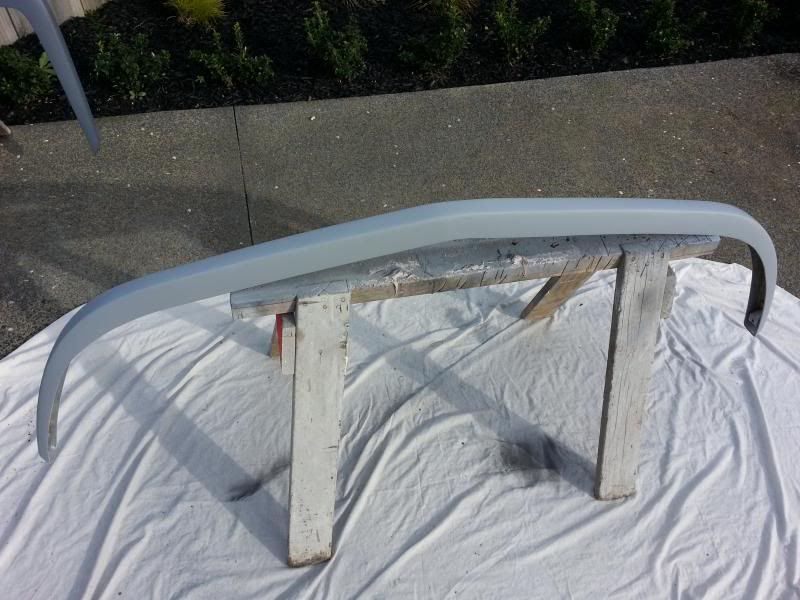
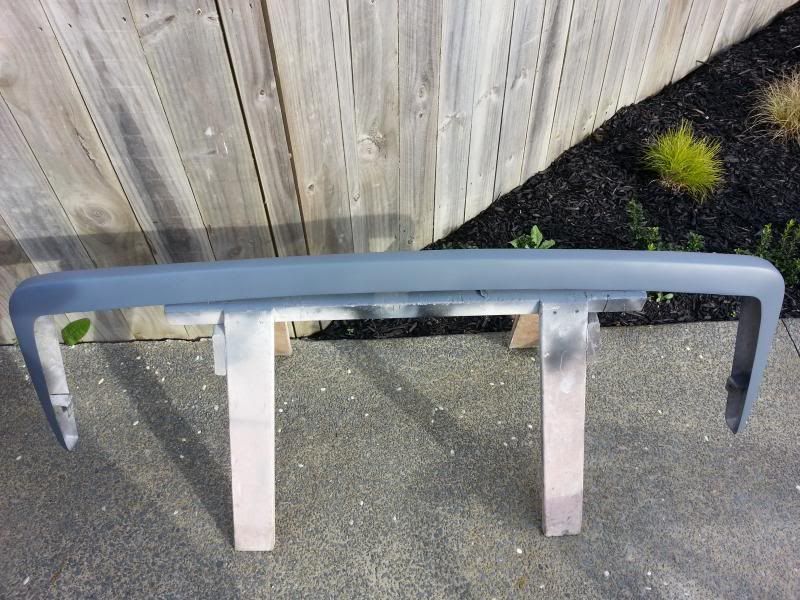
Sadly the black front bumper is long gone and in its place a pretty bent mess but should be able to sort something. Engine is still running the triple Mikuni carbs and does run but just not all that well.. An RB25 conversion is planned for the not to distant future.

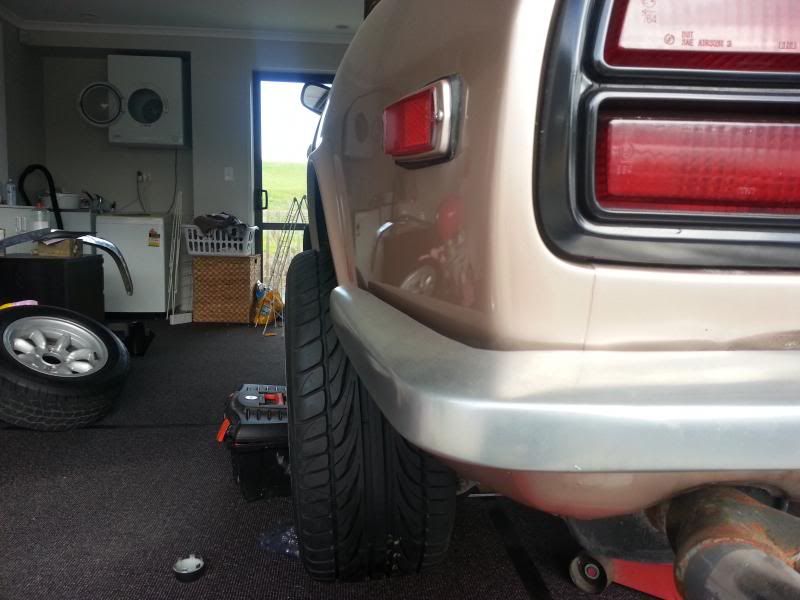
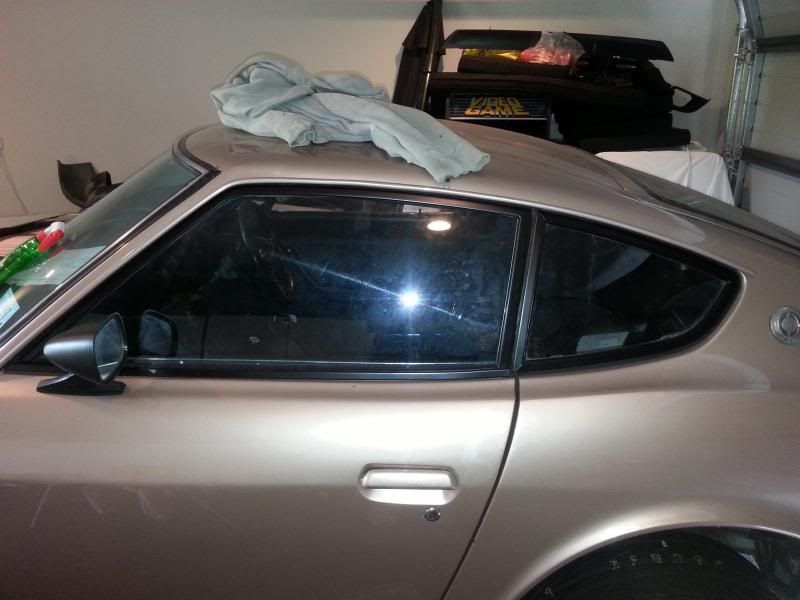
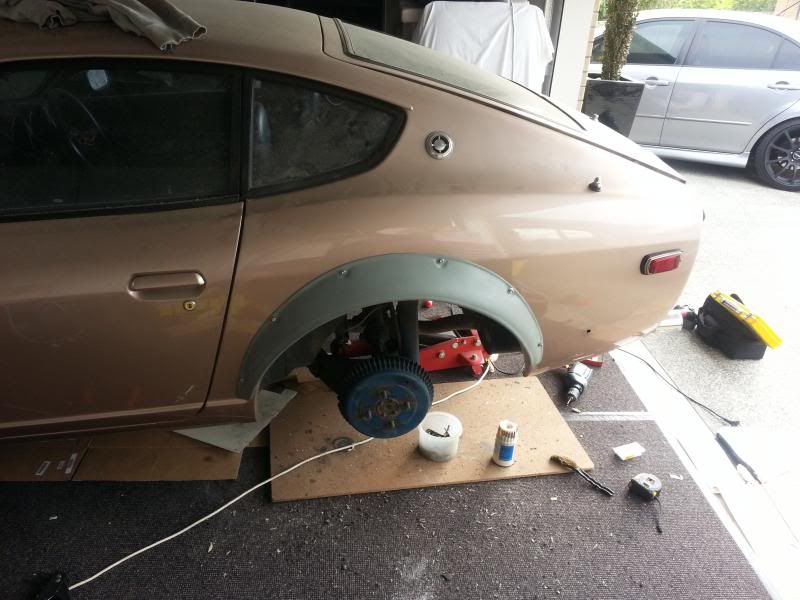
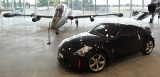
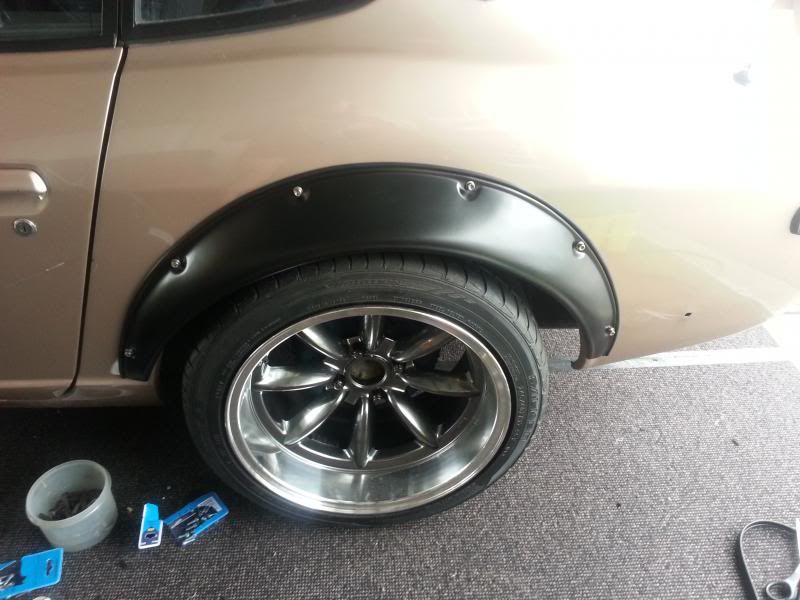
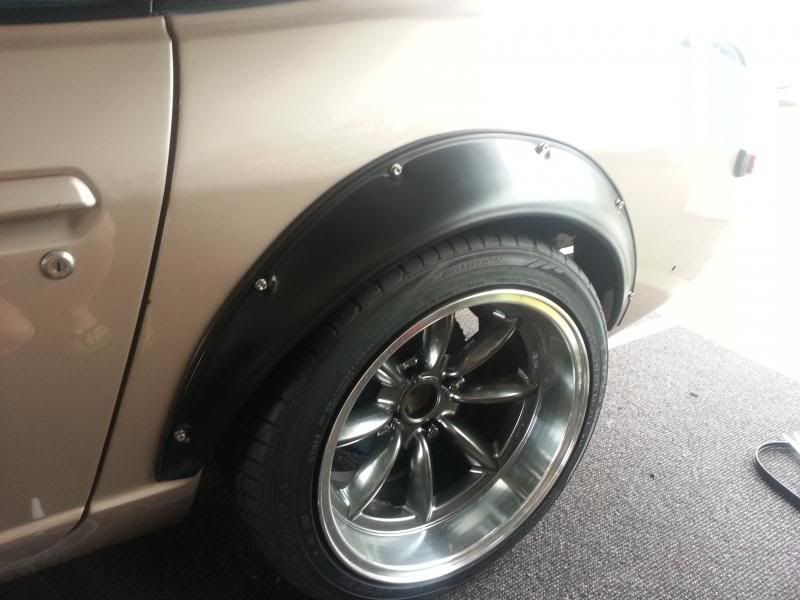
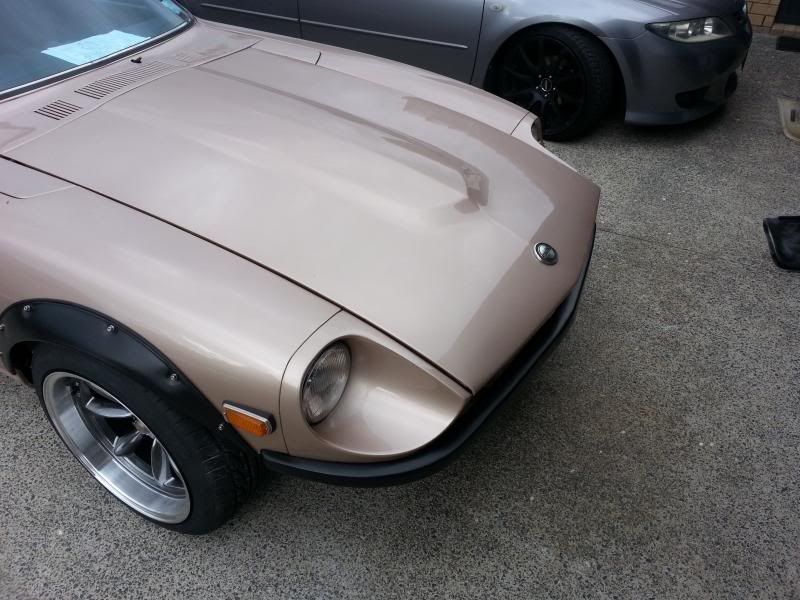
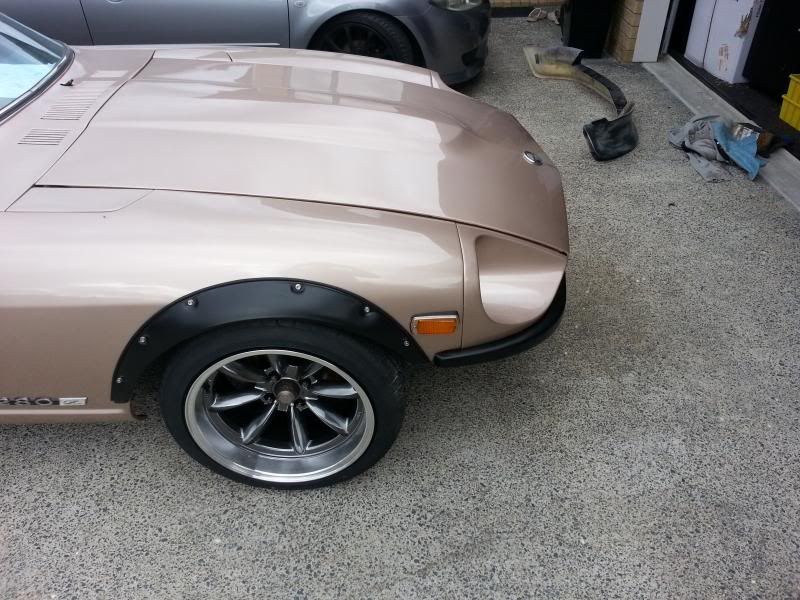
I am starting to make some progress with the car so with throw up a few pics for anyone that is interested.

Car straight of the transporter

Image

User avatar
A280Z
Posts: 139
Location: Auckland

Post by A280Z » Fri Aug 16, 2013 11:16 am

First thing needing attention was some small pockets of rust.

Firstly in each front lower tower corner. The drivers side was the worse of the two but both needed work.

Before - rust is awesome

Image

After - patched and painted. (Stink phone pictures)

Image

Next were the rails, neither was really bad but they have been crushed over time and started to open along the edge in a few spots.

Before - rust is awesome

Image

After - patched, treated internally, painted and under sealed.

Image

User avatar
A280Z
Posts: 139
Location: Auckland

Post by A280Z » Fri Aug 16, 2013 11:25 am

I am changing the look of the car (ZG flares etc) so needed new wheels. Sadly budget doesn't stretch to Watanabe's or Works so went with Rota RBs as they look ok, have pretty good offsets and fitted my weak budget.

17 x 9 +19 Fronts and 17 x 9.5 +13 Rears

Image

Image

Fitted Falken 225/45 to Fronts and 245/40 to Rears

Test fit

Image

Image

User avatar
A280Z
Posts: 139
Location: Auckland

Post by A280Z » Fri Aug 16, 2013 11:38 am

When the car was originally painted the owner decided to paint the door window frames and rear quarter windows body colour. I didn't really like that look and the car came with a set of chrome quarter windows extra. I am on the lookout for some stainless door window frames (or may attempt to strip the paint from these ones eventually) but as a temp step I have painted the trims satin black. Flares, Wing, Splitter etc will all be black so should sort of match.

Before - note door frame is body colour and rear quarter is chrome. I did not paint the chrome quarter windows but the spare body coloured one that came with the car.

Image

After - slight improvement

Image

Still have to do drivers side.
Last edited by A280Z on Fri Aug 16, 2013 12:12 pm, edited 1 time in total.

User avatar
A280Z
Posts: 139
Location: Auckland

Post by A280Z » Fri Aug 16, 2013 11:56 am

I wanted to put ZG style flares on the car so ordered a f/g set from the states. Quality was pretty good for the price.

They come in a gloss black gell coat finish

Image

Trial fit - 14inch Enkies looking pretty small

Image

Next came the rough bit, hacking up some mint guards. Measure up then hack away. This part kind of hurt...

Image

Fold lower edge to meet, weld and trim. Drill some holes and install some rivnuts.

Image

Repeat on other side matching heights

Image

Now measure fronts and cut. Easy as compared to the rears.

Image

All for corners done. Pushed car outside to make sure everything lines ok. Looks Ok.

Image

We also swapped out the rear shock top isolators with some front versions which are around 30mm shorter to bring the rear ride height down a bit and remove some of the rake the car had.

Flares still need to be painted, all welding and cuts treated and painted and rubber welting fitted.
Last edited by A280Z on Fri Aug 16, 2013 2:34 pm, edited 1 time in total.

User avatar
A280Z
Posts: 139
Location: Auckland

Post by A280Z » Fri Aug 16, 2013 12:11 pm

One flare finished. Cut metal treated and painted. Flare painted and rubber welting installed. (Para Rubber FTW)

Image
Last edited by A280Z on Fri Aug 16, 2013 2:35 pm, edited 1 time in total.

User avatar
kirihi
Z Club Member
Posts: 426
Location: Christchurch

Post by kirihi » Fri Aug 16, 2013 1:00 pm

Wow, great work mate, your 280 is looking awesome - love the rims; there's nothing wrong/budget with them! I prefer the look of your earlier 280 to the '78 280ZX 2 seater (with the overkill front bumper) my wife had 20 years ago. Welcome to the forum - keep up the good work :-)

Chris

User avatar
Pedey
Posts: 257
Location: Auckland
Contact:

Post by Pedey » Fri Aug 16, 2013 1:27 pm

Making progress! Good to see you on here, did the wing eventuate?

User avatar
A280Z
Posts: 139
Location: Auckland

Post by A280Z » Fri Aug 16, 2013 1:32 pm

kirihi wrote:Wow, great work mate, your 280 is looking awesome - love the rims; there's nothing wrong/budget with them! I prefer the look of your earlier 280 to the '78 280ZX 2 seater (with the overkill front bumper) my wife had 20 years ago. Welcome to the forum - keep up the good work :-)

Chris
Cheers man, yea I think they are a good buy for the price and am happy with them. Should do the job. Definitely wanted the 240z shape and this car came up so jumped on it.
Last edited by A280Z on Fri Aug 16, 2013 1:36 pm, edited 1 time in total.

User avatar
A280Z
Posts: 139
Location: Auckland

Post by A280Z » Fri Aug 16, 2013 1:34 pm

Pedey wrote:Making progress! Good to see you on here, did the wing eventuate?
Cheers man, getting there slowly.

Yea got the wing made and shipped up. Am happy with the quality. Looks like it will fit sweet. Have it painted and ready to go on. Hopefully this weekend if I get some time.

User avatar
us2
Z Club Member
Posts: 1876
Location: Weymouth by the sea.Auckland.Don't dream it ,be there

Post by us2 » Fri Aug 16, 2013 1:46 pm

Your third from the top picture is a Z Club Concours at Long Bay reserve.

My car is beside yours. :lol:
!972 240z
Retirement is great. Growing old sucks.

User avatar
ZMAD
Posts: 657
Location: Tauranga

Post by ZMAD » Fri Aug 16, 2013 7:19 pm

Nice work with great results. Such rapid transformation.
All Nissans are racecars.

User avatar
nustad
Z Club Member
Posts: 551
Location: Auckland

Post by nustad » Fri Aug 16, 2013 7:20 pm

It is a maxima colour - I remember talking to Bruce about it. Car is looking great and all your changes look fabulous. It is shaping up well! You've made heaps of progress compared to my my meagre progress in 15 years!
72 240z plus bits

User avatar
A280Z
Posts: 139
Location: Auckland

Post by A280Z » Sun Aug 18, 2013 6:49 pm

Bit more progress

Image

Image

User avatar
A280Z
Posts: 139
Location: Auckland

Post by A280Z » Mon Aug 26, 2013 12:49 pm

So when I got the car the bumpers were in a pretty bad way. The rear bumper looked like it had been painted with chrome in a can and the front was a shocker. It was too wide for the car somehow and had been bent and bashed into shape to make sort of fit. The brackets had been bashed to death also. I really have no idea how they got it on to be honest. I am trying to track down a replacement front bumper but in the mean time thought I would have a crack at tidying it up.

First I had to make some new brackets that actually allowed the bumper to fit on ok. The ones it came with had the bumper sitting miles out in front. Once done I had to cut the bumper in two and remove some metal to make it fit then re-weld. I really have no idea what the bumper was off originally..

Image

Test fit, bit better

Image

Once happy with it I welded up all the holes in it smoothed it out as best I could and painted

Image

I also stripped back the rear bumper, welded up some holes and painted

Image

Painted both up satin black and fitted. I will still try and find another bumper but looks better than it did.

Front on

Image

Image

Rear on

Image

Post Reply